USA: 1-800-338-3568 | CANADA: 1-866-591-5594
What You Need to Know to Avoid Leaky Tile Decks with Tiledek Waterproof Membrane: Part 3- Installation
In part one of this four-part series of detailed questions about Duradek Ultra Tiledek membranes we first familiarized you with Tiledek and the necessity of having a reliable waterproof system under your outdoor tile decks and the typical methods of installing outdoor tile.
In part two, we discussed the alternative methods of waterproofing under exterior tile, and why Tiledek is the superior choice.
In this third part of this series, we will look at how Tiledek is installed and expand on why Tiledek is the stand-out option for doing it right the first time and guaranteeing that your deck waterproofing performs as intended.
How is Tiledek installed?
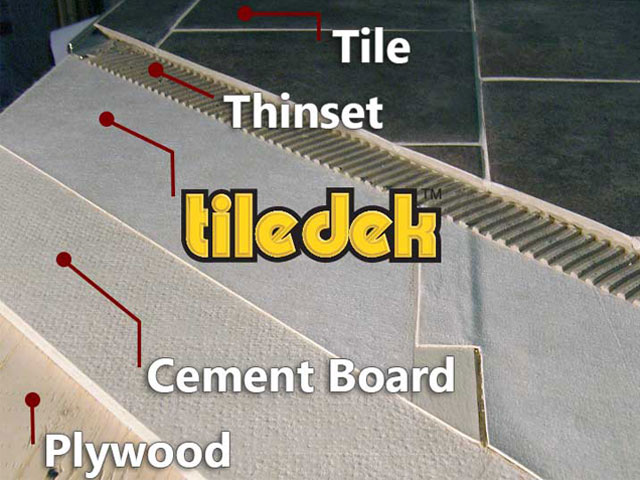
Tiledek is installed using almost identical techniques to the installation of Duradek. We use the same adhesives, heat welded seams, and waterproofing details. There are a few finish details that differ due to the tile that will be installed after we are done. Here are the areas that require different techniques:
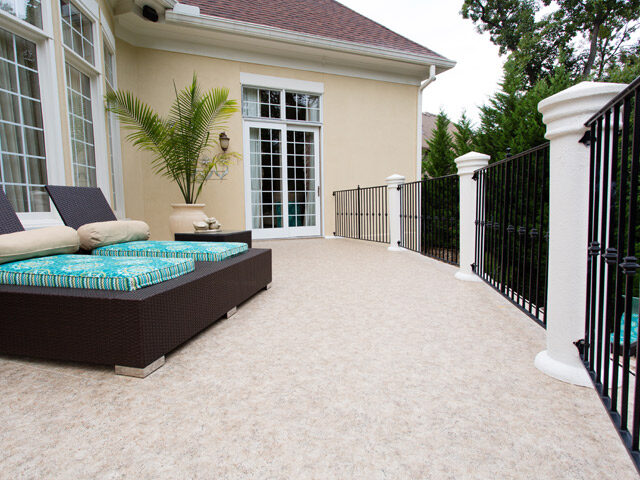
Outside perimeters: As with regular Duradek, there are many ways to finish the outside perimeter of a tile deck. As waterproofers, we need to establish what “look” the owner wants to be able to advise them properly. You should consult with both the builder and the tile setter to discuss the perimeter finish details. Depending upon their desired finish, we can alter our detailing. This is an area where we can offer our customers excellent service and help them make good waterproofing decisions while taking all the future steps they will go through into consideration. Our attention to these details contributes to the overall success of the job.
Drains: Should drains be necessary, we cannot use our regular WDD1 system. We recommend a special cast drain with a square top to make it easier and more attractive for the tile applicator to finish to.
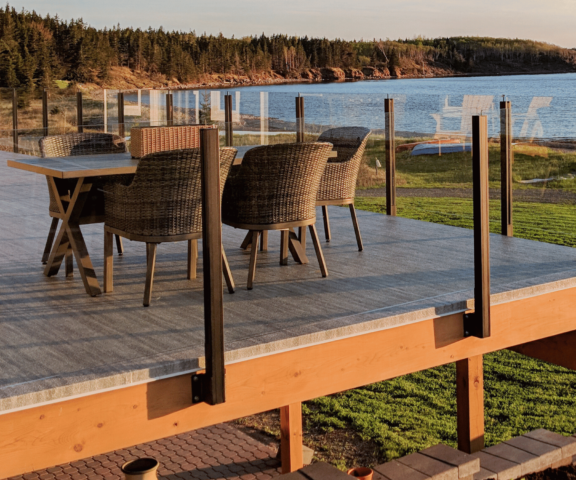
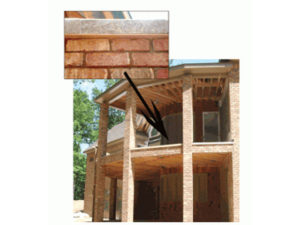
Rail attachments: We strongly recommend attaching rails to the fascia instead of the surface of the deck. DO NOT INSTALL RAILS OVER TOP OF TILE AS IT WILL CAUSE THE OVERLAY TO CRACK. We have special details for surface mounted rails if there is no other alternative.

Inside perimeter: If the owner wants the tile to return up the wall as part of their finished look, appropriate flashings are needed. If not, then consideration must be given to the visibility of the part of the membrane that returns up the wall and hiding the gap that must be left on the inside of the tile application.
Surface preparation: Apart from a thorough inspection for a properly fastened substrate, there is little prep work necessary. A light sanding of the joints of the cement board or a scraping of the entire surface to take care of any bumps will suffice. No filling is required.
Who installs Tiledek?
Tiledek can only be installed by a qualified Duradek applicator who has gone through our training program and who works for an authorized Duradek applicating contractor. That is how we can give our customers superior protection in making sure it is done right.
Do we recommend tile installations in cold climates?
We do not profess to be tile experts. Manufacturers of the tile and the installation accessories must answer this question. We are waterproofing professionals. We can protect the structure from water damage no matter how hot or cold or wet the climate is. And we can provide a membrane to which thinset mortars will tenaciously adhere. We cannot (and do not) guarantee tiles will not erupt as a result of freezing temperatures but we can (and do) guarantee the water that gets under the tile will not get into the building.
There are currently countless decks and balconies in cold climates being overlaid with tile. People like the look and are going to continue to use it regardless of if it is a good idea. Our part is to make sure they don’t suffer water damage.
Is Tiledek an Anti Fracture Membrane?
Tiledek will add a very small amount of fracture resistance to the system but should not be purchased as an anti-fracture membrane. Because it is glued to the subsurface, movement beneath the Tiledek membrane may transfer through into the tile.
Will an anti-fracture membrane eliminate the need for a control joint?
It is a frequent misconception that anti-fracture membranes allow you to eliminate expansion joints – they do not. There always must be soft joints in the tile work to allow for expansion and contraction. Guidelines for expansion joint placement are given in the Tile Council of North America Handbook. The exact placement of expansion joints is a function of many items including exposure to sunlight and the range of high to low temperature, moisture, aging of the concrete (where relevant), structural movement, expected loading, and other design criteria. It is a common recommendation that there be expansion joints every 8 – 10 feet in any direction. The manufacturer’s recommendations should also be consulted and followed.
On ¾ inch plywood covered with Tiledek plus a layer of Schluter’s Ditra Mat, we achieved a residential rating.
Summary
Now that you know some of the installation details to consider, continue reading the final article in our 4-part series, “What You Need to Know to Avoid Leaky Tile Decks with Tiledek Waterproof Membrane: Part 4 – Stacking the Deck”.