USA: 1-800-338-3568 | CANADA: 1-866-591-5594
Exterior Tile Assembly Facts
Waterproofing Underlayment for Exterior Tile Assembly Facts
The prime functions of a waterproof underlayment for outdoor tile decking are to:
- waterproof the space beneath and protect the structure from rot
- maintain compatibility with tile bonding adhesives
- to act as a contributing element for crack isolation protection
- to provide a critical component in a complete exterior tile assembly
Waterproof Underlayment Construction
The Tiledek waterproof underlayment is constructed virtually identical to our Duradek Ultra membrane. It has the same waterproofing performance, the same roofing approvals and is installed with the same proven installation techniques by our network of professional, trained applicators. Where the difference lays is that instead of a UV protected, stylish finish, Tiledek is manufactured with fabric laminated to its topside. The tiles can then be bonded securely to the fabric-covered membrane with thinset mortar.
Waterproofing Underlayment Facts – Installation Considerations
Tiledek waterproof underlayment has the same basic installation requirements of Duradek Ultra Membrane (See Vinyl Deck Membrane Facts – Installation Considerations). It has the same integration into the building envelope and all water routing components. However, since the Tiledek membrane is covered with tile and does not demand the same aesthetic considerations of our walkable Duradek membrane, Tiledek receives a Triple-Heat Welded Seam for added assurance of a completely water-tight barrier, protecting the structure from moisture.
The main difference in the installation of the Tiledek waterproofing membrane is in the best practice recommendations for the built-up assembly that an outdoor tile deck requires. Each component in a 5 or 6 stage exterior tile assembly works together to ensure a successfully completed job. While the specifics involved in the exterior tile substrate and assembly details can be looked at in more detail, there are a couple of installation considerations to keep in mind for an outdoor tile project that requires the expertise of 2 to 4 sub-trades.
Sequencing of the assembly
Tiledek is the 3rd or 4th step in the outdoor tile assembly. If a general contractor is preparing the deck surface, be sure to account for proper slope and that all water routing components are installed to properly receive the Tiledek membrane. Consult with your Duradek professional before beginning the project to ensure to account for adequate substrate preparations.
Protecting the membrane
If there is a time delay from when the Tiledek membrane is installed to when the tile setters will be applying the thinset and tile, be sure to protect the membrane. It is important to protect the underlayment from rain and snow after installation to prevent moisture pickup. It is also important to consider when other sub-trades will be on the job site. A sheet of plywood or heavy cardboard can be an excellent preventative measure if window or siding installations will take place on the deck before the tile setters can come to complete the job.
Mounting Railings
Railings should never be surface mounted on outdoor tile assemblies. The fasteners required to hold the rails will penetrate the roofing membrane. Water flows on top of the waterproofing membrane. Any penetration of the membrane will be almost impossible to seal. While surface mounted railing is the less common option as compared to fascia mounted railings in most areas, it is a notable consideration in planning your tile deck project.
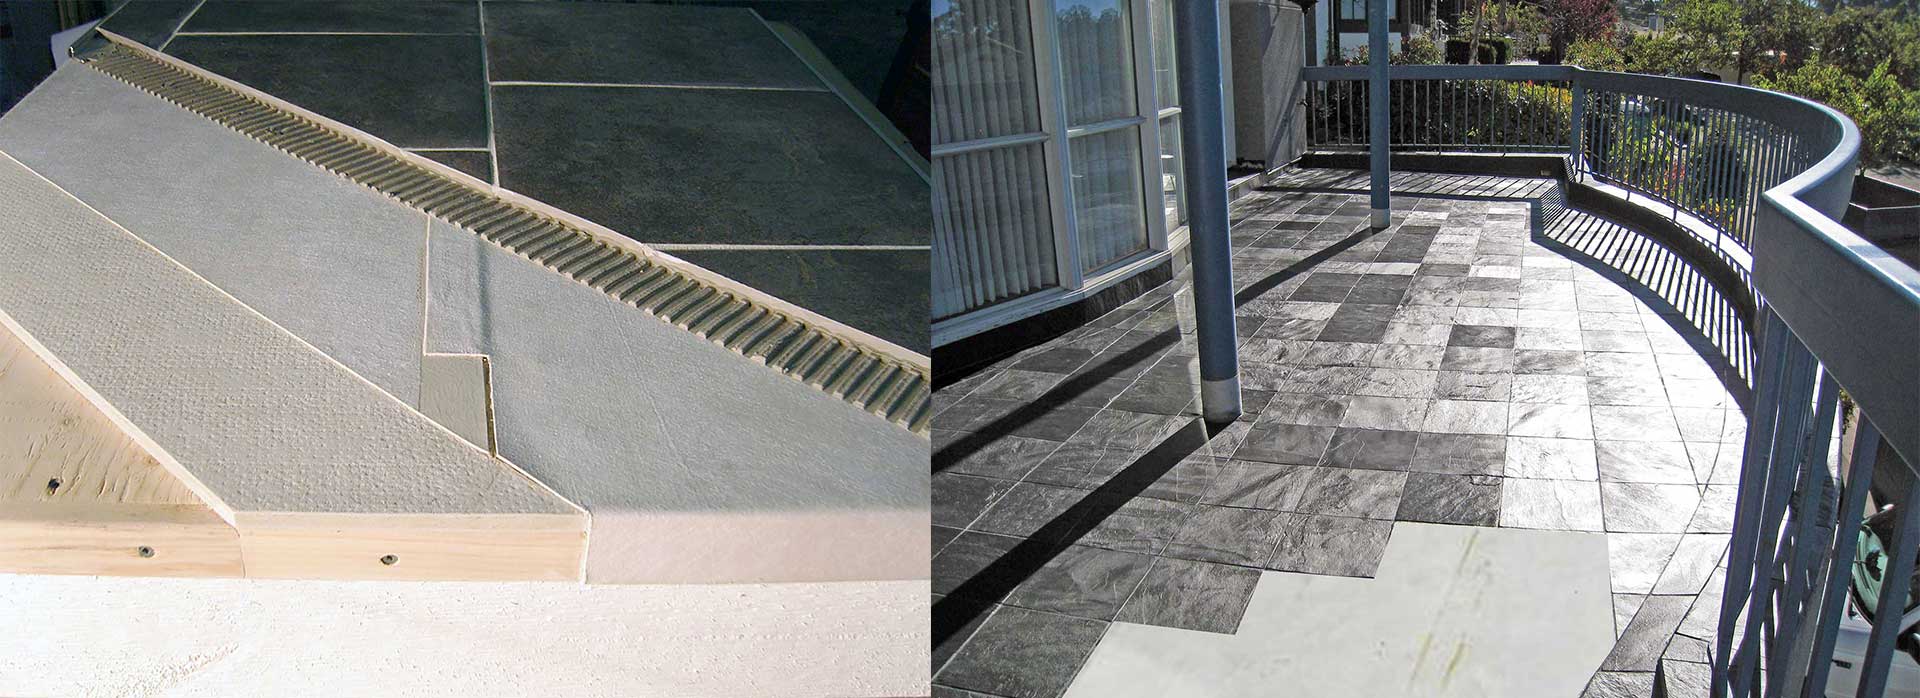
Stairs
Tiledek should not be used on wood framed stairs in adjoining small landing applications or on vertical surfaces over 4 inches. Tiledek can be used on poured concrete stairs and small landing projects.
Useful Resources
Download: Compare Protected Deck and Roof Deck Systems
PDF