Installation Details

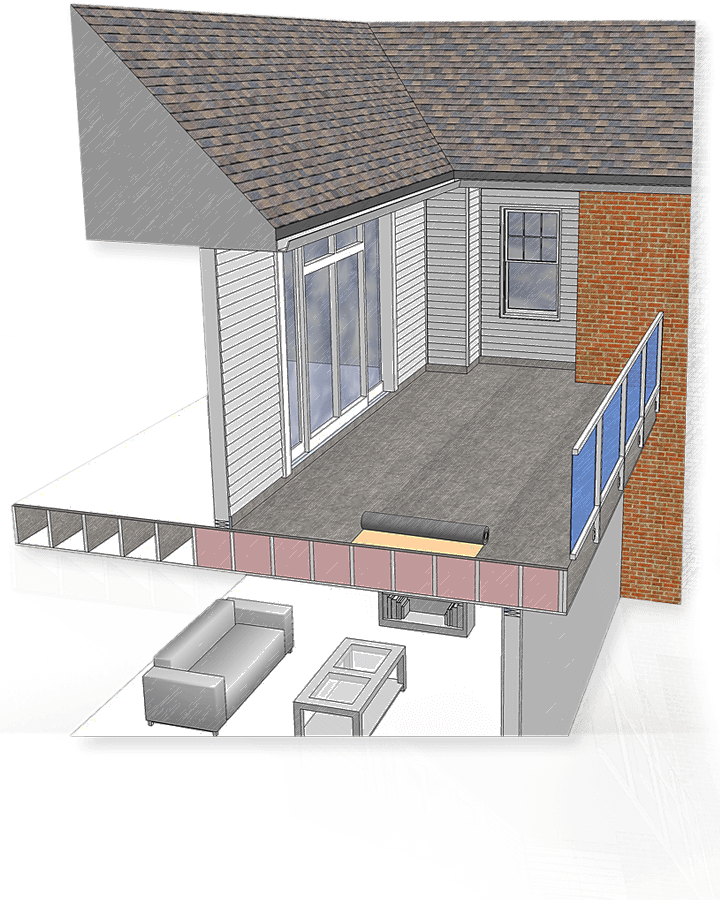
Vinyl deck installation details developed through Duradek’s 40+ years of waterproofing experience come with unsurpassed installation techniques for moisture management. The integration of the membrane into the building envelope brings complete waterproof assurance.

When it comes to waterproofing, it’s all in the installation details…

  • #1 | Heat Welded Seams

    Hot air welding equipment is used to fuse the overlapped sheets together creating a watertight seam.

  • #2 | Water Diverter

    Diverter, placed below the membrane, can be used to deflect water away critical details.

  • #3 | Deck Meets Wall

    Flashing membrane is bonded vertically up the wall sheathing and outward from the deck/wall intersection allowing for proper installation sequencing of the finished wall system.

  • #4 | Door Detail

    Rough opening sill and jamb are waterproofed before the door is installed.

  • #5 | Folded inside Corner

    “Inside corner” detail created by folding and fusing the membrane in place without use of relief cuts.

  • #6 | Welded Corner Detail

    Watertight corner patches are installed at “outside” corner details.

  • #7 | Replacement Flashing

    Removable trim boards allow for easy repair or replacement on membranes.

  • #8 | Thru Wall Flashing

    Thru wall flashing are required at brick veneered walls.

  • #9 | Fascia Mount Railing

    Fascia mounted railings systems allow for attachment of the railing without penetrating the Duradek membrane.

  • #10 | Edge Detail

    Edge detail created by folding and fusing the membrane in place without use of relief cuts.

Useful Resources

Download: Installation Details Graphic (PDF)
PDF
Download: Details That Make the Duradek Difference (PDF)
PDF
Translate »